The Doctor Windshield Is Providing The Best Windshield crack Repair Solutions in Toronto, Ajax, Vaughan, Markham, Etobicoke, Brampton, Downtown, Mississauga, Scarborough, Northyork.
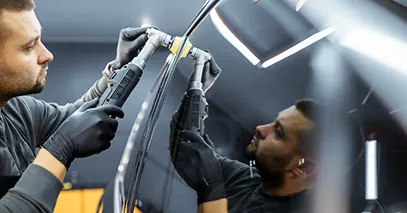
Cracked Windshield Repair – As an owner of a vehicle it is inevitable that you have to repair your windshield at any day of a year or so. It is essential to keep your vision clear through it. You can do the repair yourself or you can get professionals to do the repair. Nowadays, simpler version of professional windshield repair kits are available in the market. If you want to do the repair yourself, you just buy one of these repair kits. Then simply follow the following tips to complete the task of repairing your windshield.
We advise you not to do the repair in the hot sun as it will make the resin become harder very quickly. As a result, repair would not look beautiful.
Thoroughly clean the damaged area of the windshield. You can use a sharp knife or razor blade to remove tiny loose glass pieces.Removal of loose glass pieces is very important as it will spoil the process of repairing. So, these must be carefully removed from the surface. In addition to the damaged area, clean the surface of the other portion of the windshield using any glass cleaner. Cleaned surface is necessary to place the suction cup tool. Allow the windshield to dry completely before starting the next step.
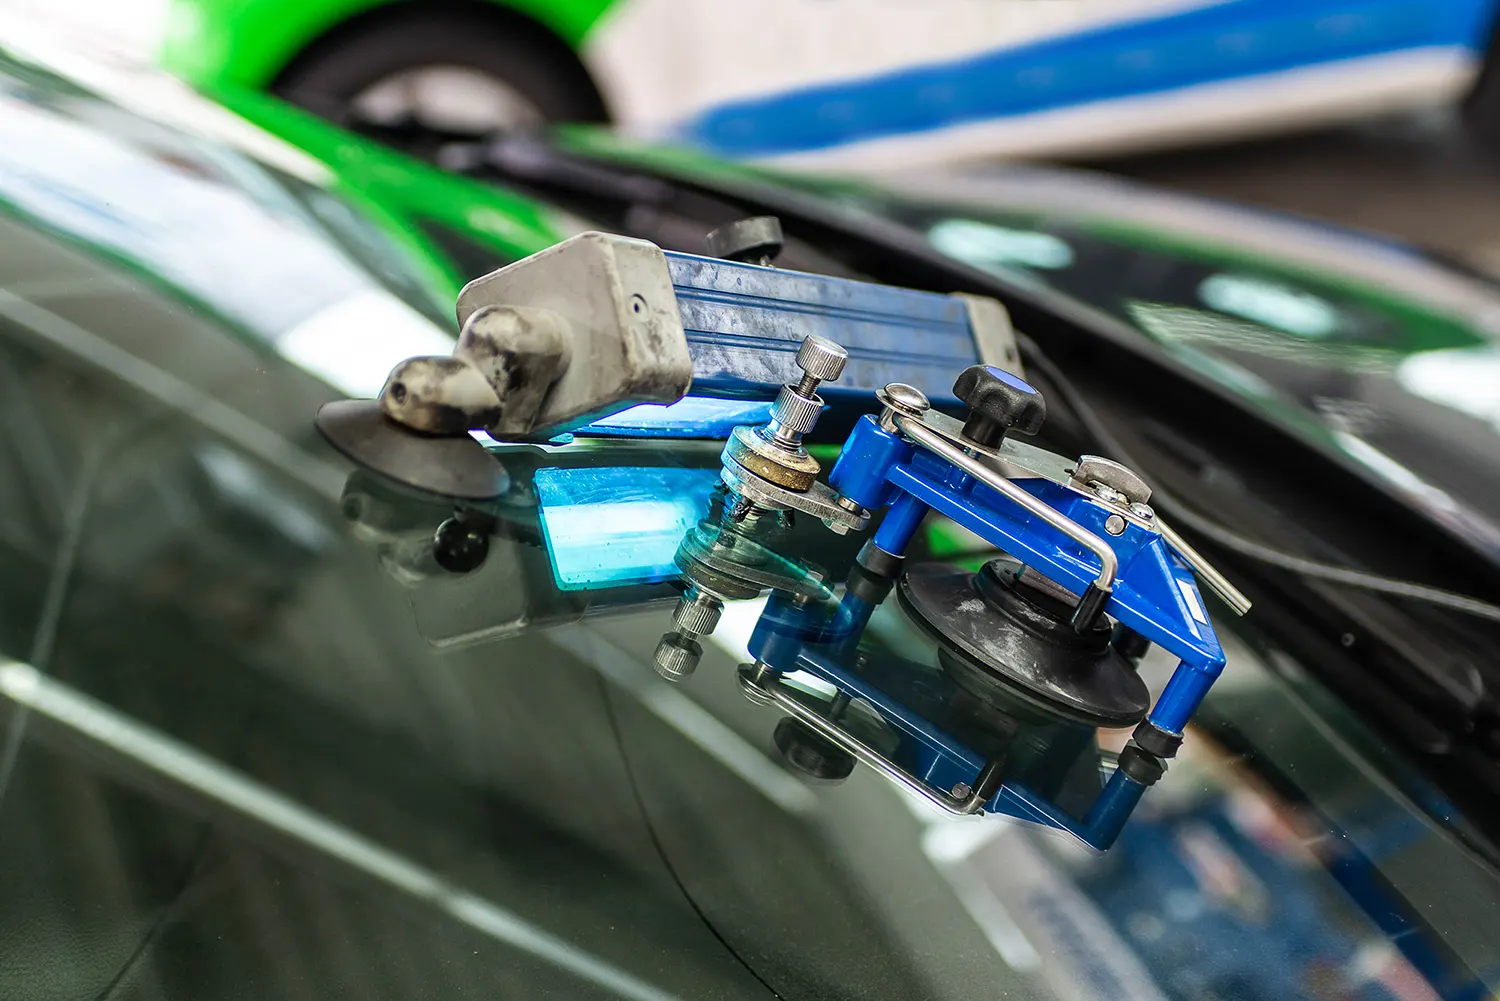
Carefully place the suction cup tool on the cleaned surface of the windshield so that the threaded center is right over the chipped area. You have to secure the four arms of the tool on the surface by pressing the suction cup into place. As the arms of the tool are adjustable, you don’t have to worry much if you have placed the cup slightly away from the center at the start. You can easily adjust the arms into or out of the suction cups.
After placing the suction cup tool right over the damaged area on the windshield, you have to thread the repair tube into suction cup tool. You have to screw it tightly by hand. Remember to tight by hand only. Do not use any other tools to tight.
The success of the windshield repair is highly depending on the proper alignment of the tools.Therefore ensure the tool is properly aligned with. It is easy to check this from inside of your vehicle. Confirm that the rubber end of the tube is directly on top of the chip in the windshield. If you find it is not directly on top of the chip, unscrew the tube and reposition it until it is directly on top of the chip.
Open the tube containing resin and add 3 to 4 drops of resin to the repair tube. Do not add more drops and skimp. If you add less resin, repair process will take more time.
Immediately after adding the resin drops, insert the center plunger and tighten it firmly all the way down. The plunger provides necessary pressure to move the resin into the damaged area. When you find it harder to screw in, you are sure that you are adding adequate pressure. Once you have tightened it, briefly loosen the plunger to let any air bubbles to escape. Then tight it again. If the air bubbles are kept inside, it will show up in the windshield and vision is likely to be obstructed. Therefore, ensure air bubbles are moved out. This is very important.
When the resin is penetrated fully into the glass chip, may be after a minute, remove the suction cup tool completely from the windshield. Then quickly place a clear finishing film over the repaired area. If necessary you can add a small tape to the film to prevent it from sliding around while the resin is setting. Carefully press the resin toward the edges of the film with a sharp knife or razor blade. This will make it thin and the resin would evenly spread under the film.
Give enough time for the resin to dry completely. Ten to fifteen minutes would be sufficient. Remove the film by pulling it off the glass. Clean the area by scraping the excess resin with razor blade.
Job is done. You have done the repair to cracked windshield.
© 2023 Doctor Windshield. All Rights Reserved.